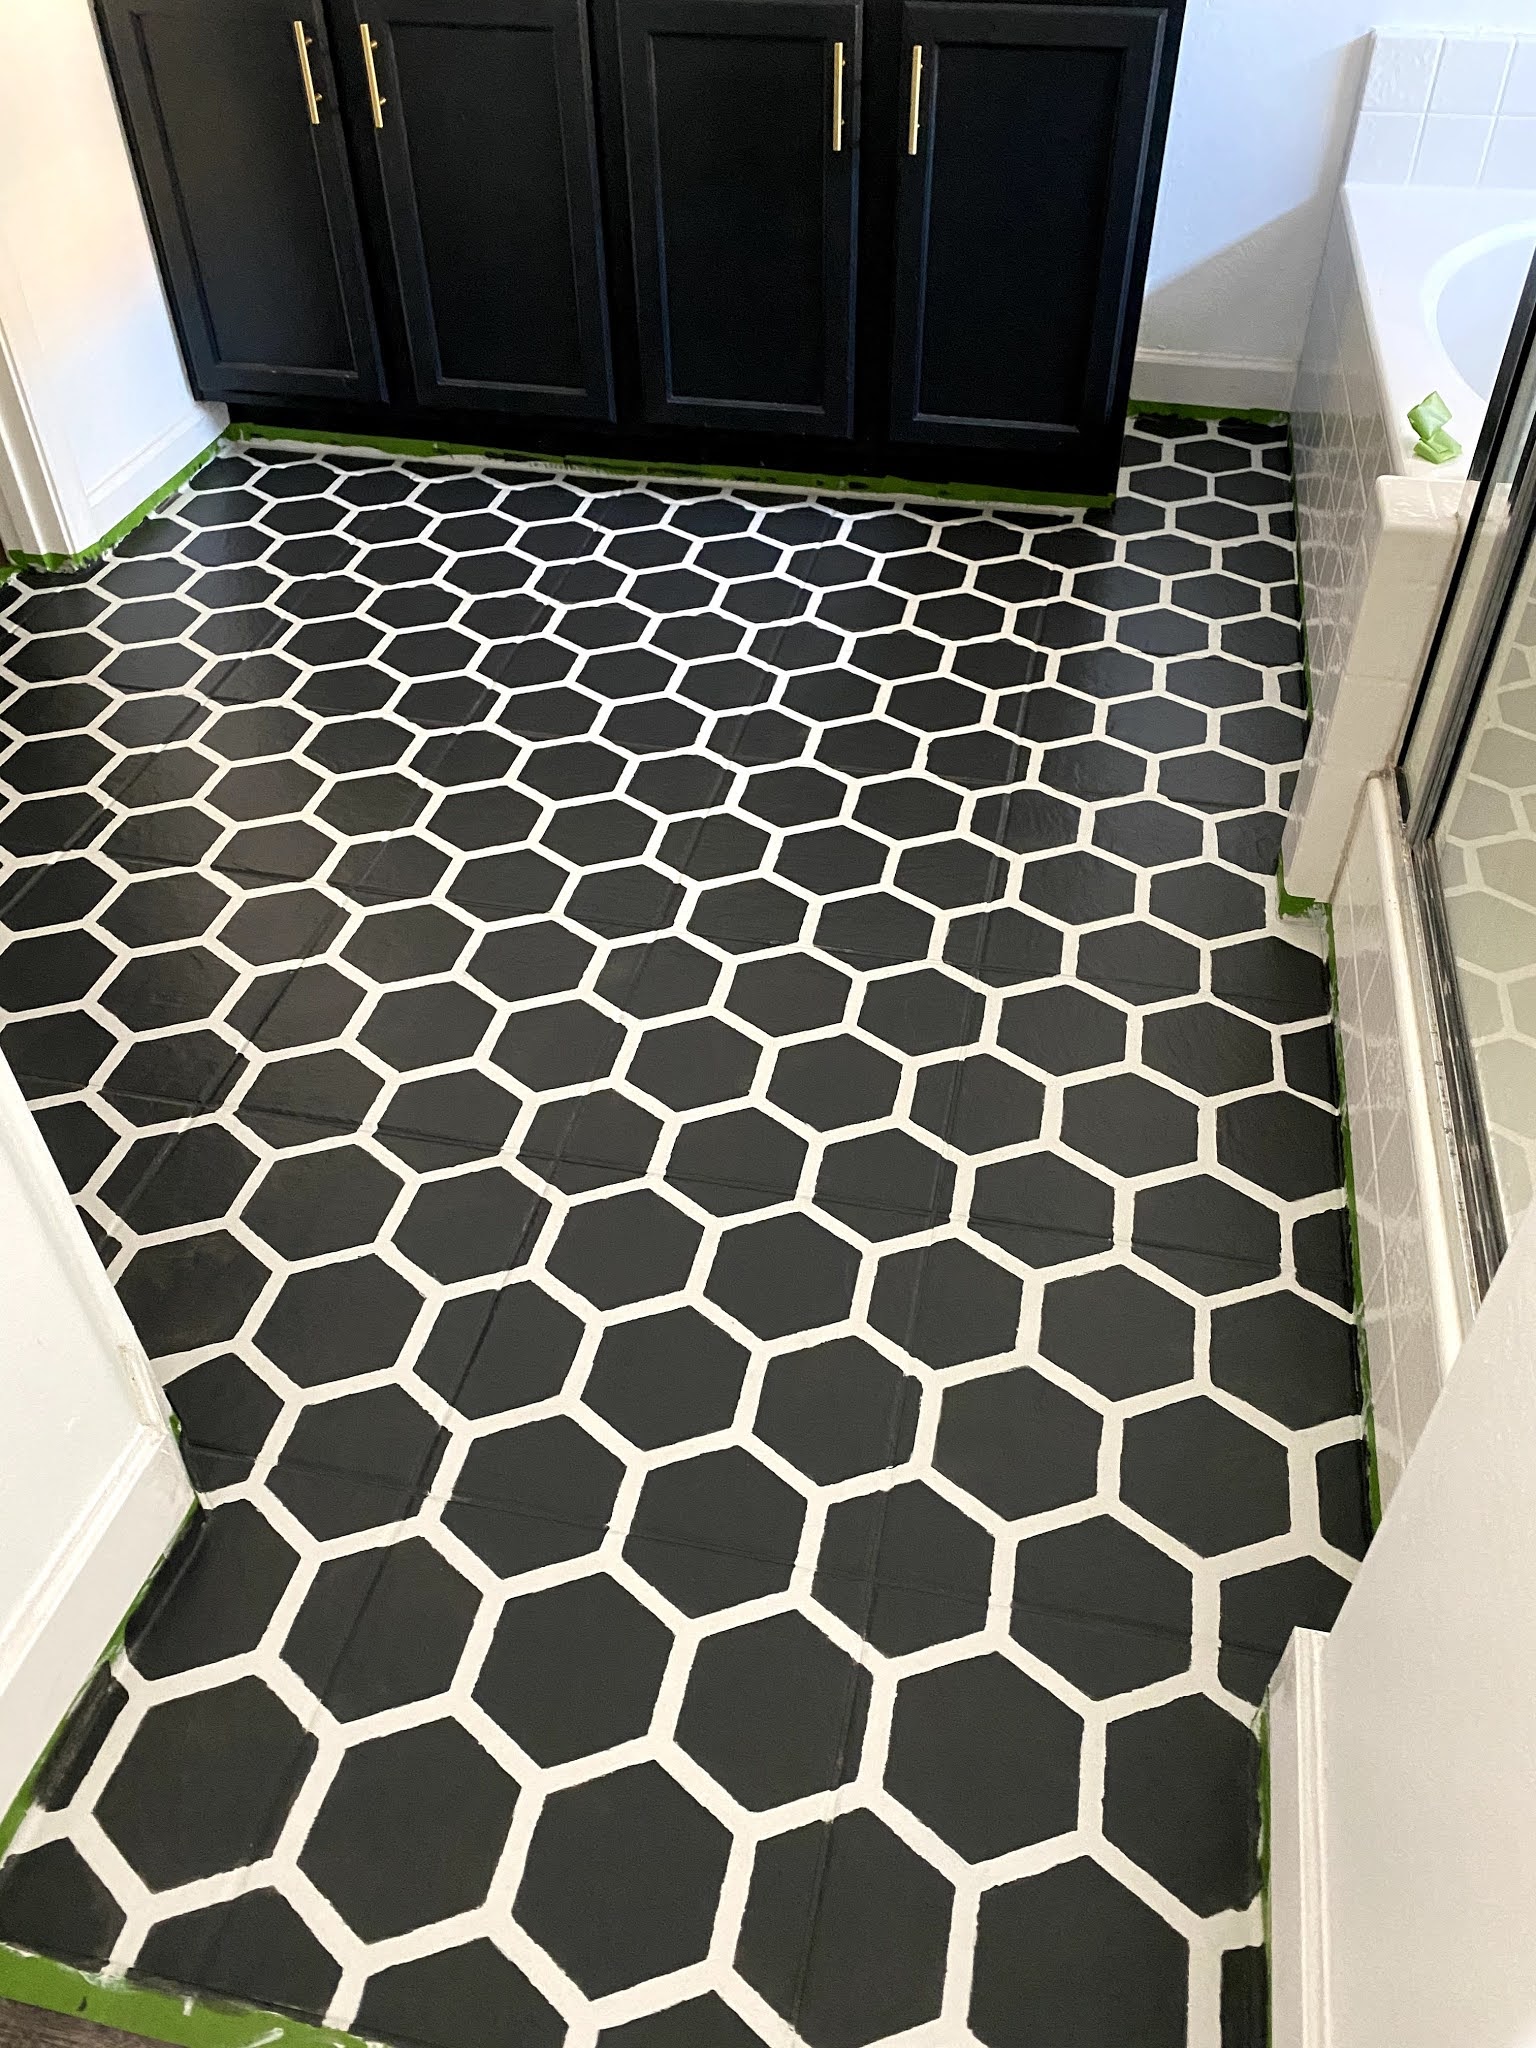
I Painted My Tile Floor! How To and Review
With help from CuttingEdgeStencils, and a lot of Rust-Oleum paint, I painted our bathroom floor. Here's how I did it and what I learned along the way!
You'll need:
Rust-Oleum Floor Paint (Coat 1, Coat 2)
Frog Tape
Small roller and paintbrush
Stipple brush (if you have grout lines)
Socks (a lot)
Stencil (if you choose to stencil)
Step 6: Keep stenciling, add a second coat. If you look at the earlier pics above, the paint wasn't even, and some hexagons looked better than others. I felt REALLY discouraged in the beginning, thinking, "What did I get myself into?"
The reason I put "socks" on the list is because each time I went in to paint, I switched out my socks. My old socks would track in hair, fuzzies, and random specks. Finding stray hairs was the WORST part of this, or realizing I painted a hair into the floor. New socks will help each time. Barefoot is too sticky and would leave a footprint on the floor when I walked on it.
HELPFUL TIPS + TRICKS FOR PAINTING FLOORS
1. Pick a stencil that fits your floors. I still love the Honeycomb style and would pick it all over again, but if I went with a single-square stencil (a stencil that fits perfectly over one square tile), this would've been a LOT easier. I would've avoided the grout lines and been able to fly through this.
2. Careful on the corners. The edges/corners were the hardest part. The CuttingEdgeStencil came with a single hexagon stencil, so that came in handy when I had to complete half of a hexagon. Sometimes we folded/bended the stencil to fit against the bathtub or in tricky spots around the toilet. It did NOT turn out perfect, so be ready to touch up or paint a hexagon freehand.
3. Vacuum in between each coat. The stray hairs and specks were driving me insane. I had read other blogger's experiences before, and some said to paint as quickly as possible (within 1-2 days right away) so your floors don't sit and accumulate dust and dirt.
4. Get some Tylenol for your back and knees. I did SO much squatting, bending over, and moving around, my body was feeling it after the first day. Depending on your room, you may not have a place to sit (and you don't want to sit right on your freshly painted floors).
5. Buy 2 stencils. If I did a floor again (which I won't haha), I would get 2 stencils and cover more ground. Or, I'd use the other stencil as the "clean" stencil and switch off. My stencil got messy pretty quickly, so when I went to lay it down for the next section, sometimes the dark paint would get onto the floor in places I didn't want it to! After that happened, I wiped my stencil down after each use (mostly wiped down the back of the stencil, the side that was going to be touching the floor). The top of the stencil got thick with paint, so only once did I peel off all that paint to get a "fresh" stencil.
6. Paint your floor all one color. If you don't find a stencil you love, pick one color and paint your tile. It looks really good, and it's WAY easier than stenciling! The Rust-Oleum paint is made specifically for floors and has a formula that is meant to last. I'll probably do another post in 6 months to share how well the floors have held up.
I didn't sand or prime because Rust-Oleum paint covers it all. I did 2 coats of Coastal Fog, 2 coats of Charcoal Gray, and 2 coats of the Matte TopCoat.
Let me know what you think! Check out my Instagram Reel and TikTok video to see more of the process.
Thanks for following along!


Comments
Post a Comment