How to Cover Tile Floors with Peel-and-Stick Tiles (ft. ClingTiles)
When we moved in to our AZ home two years ago, we didn't really think about the burnt orange/brown tile throughout the whole house.
But now it's all we can see. It's a little outdated and desert-y. As we are renovating our bathroom, I knew I wanted something fresh. Then I found ClingTiles.
Peel-and-Stick, my three favorite words. Or is it one word? Either way, we loved working with ClingTiles to renovate our tile flooring. Here's our bathroom BEFORE:


They sent us samples to pick from, and we chose the second option, Fluffy Marshmallow.

Jonathan and I worked together to lay the peel-and-stick flooring, and it only took a few hours! (It was our first time using a peel-and-stick option so we wanted to do it *perfectly*)
First, Jonathan made ALL the cuts before we did anything. We laid them all down as a "practice" round before sticking them down. All he needed was a utility knife and measuring tape. The hardest cuts were around the toilets or corners, but for most of the flooring we could use the whole board without any major cuts!
Laying out where we wanted the pieces and seeing what looked good. I moved a few boards around so it wouldn't look too uniform or too dark in certain areas. This was the fun part: seeing it all come to life!

Then, I cleaned the floors with a vacuum, water, and then Krud Kutter. You want CLEAN floors for this. I laid all the tiles on our guest bed in the same order we designed, so I would know which tile goes in first, second, third, etc.

Finally, we peeled off the backing on each board, added some double-sided adhesive that ClingTiles sent us, and laid it down! It's been a few days already and I can tell these are meant to stay down. They're super sturdy, and when I walk on them they feel just like regular flooring.


I was worried our grout lines or textured tile would somehow make the ClingTiles uneven, but that didn't happen! They lay super flat and even, and I smile big every time I open the door (cheesy, but true)
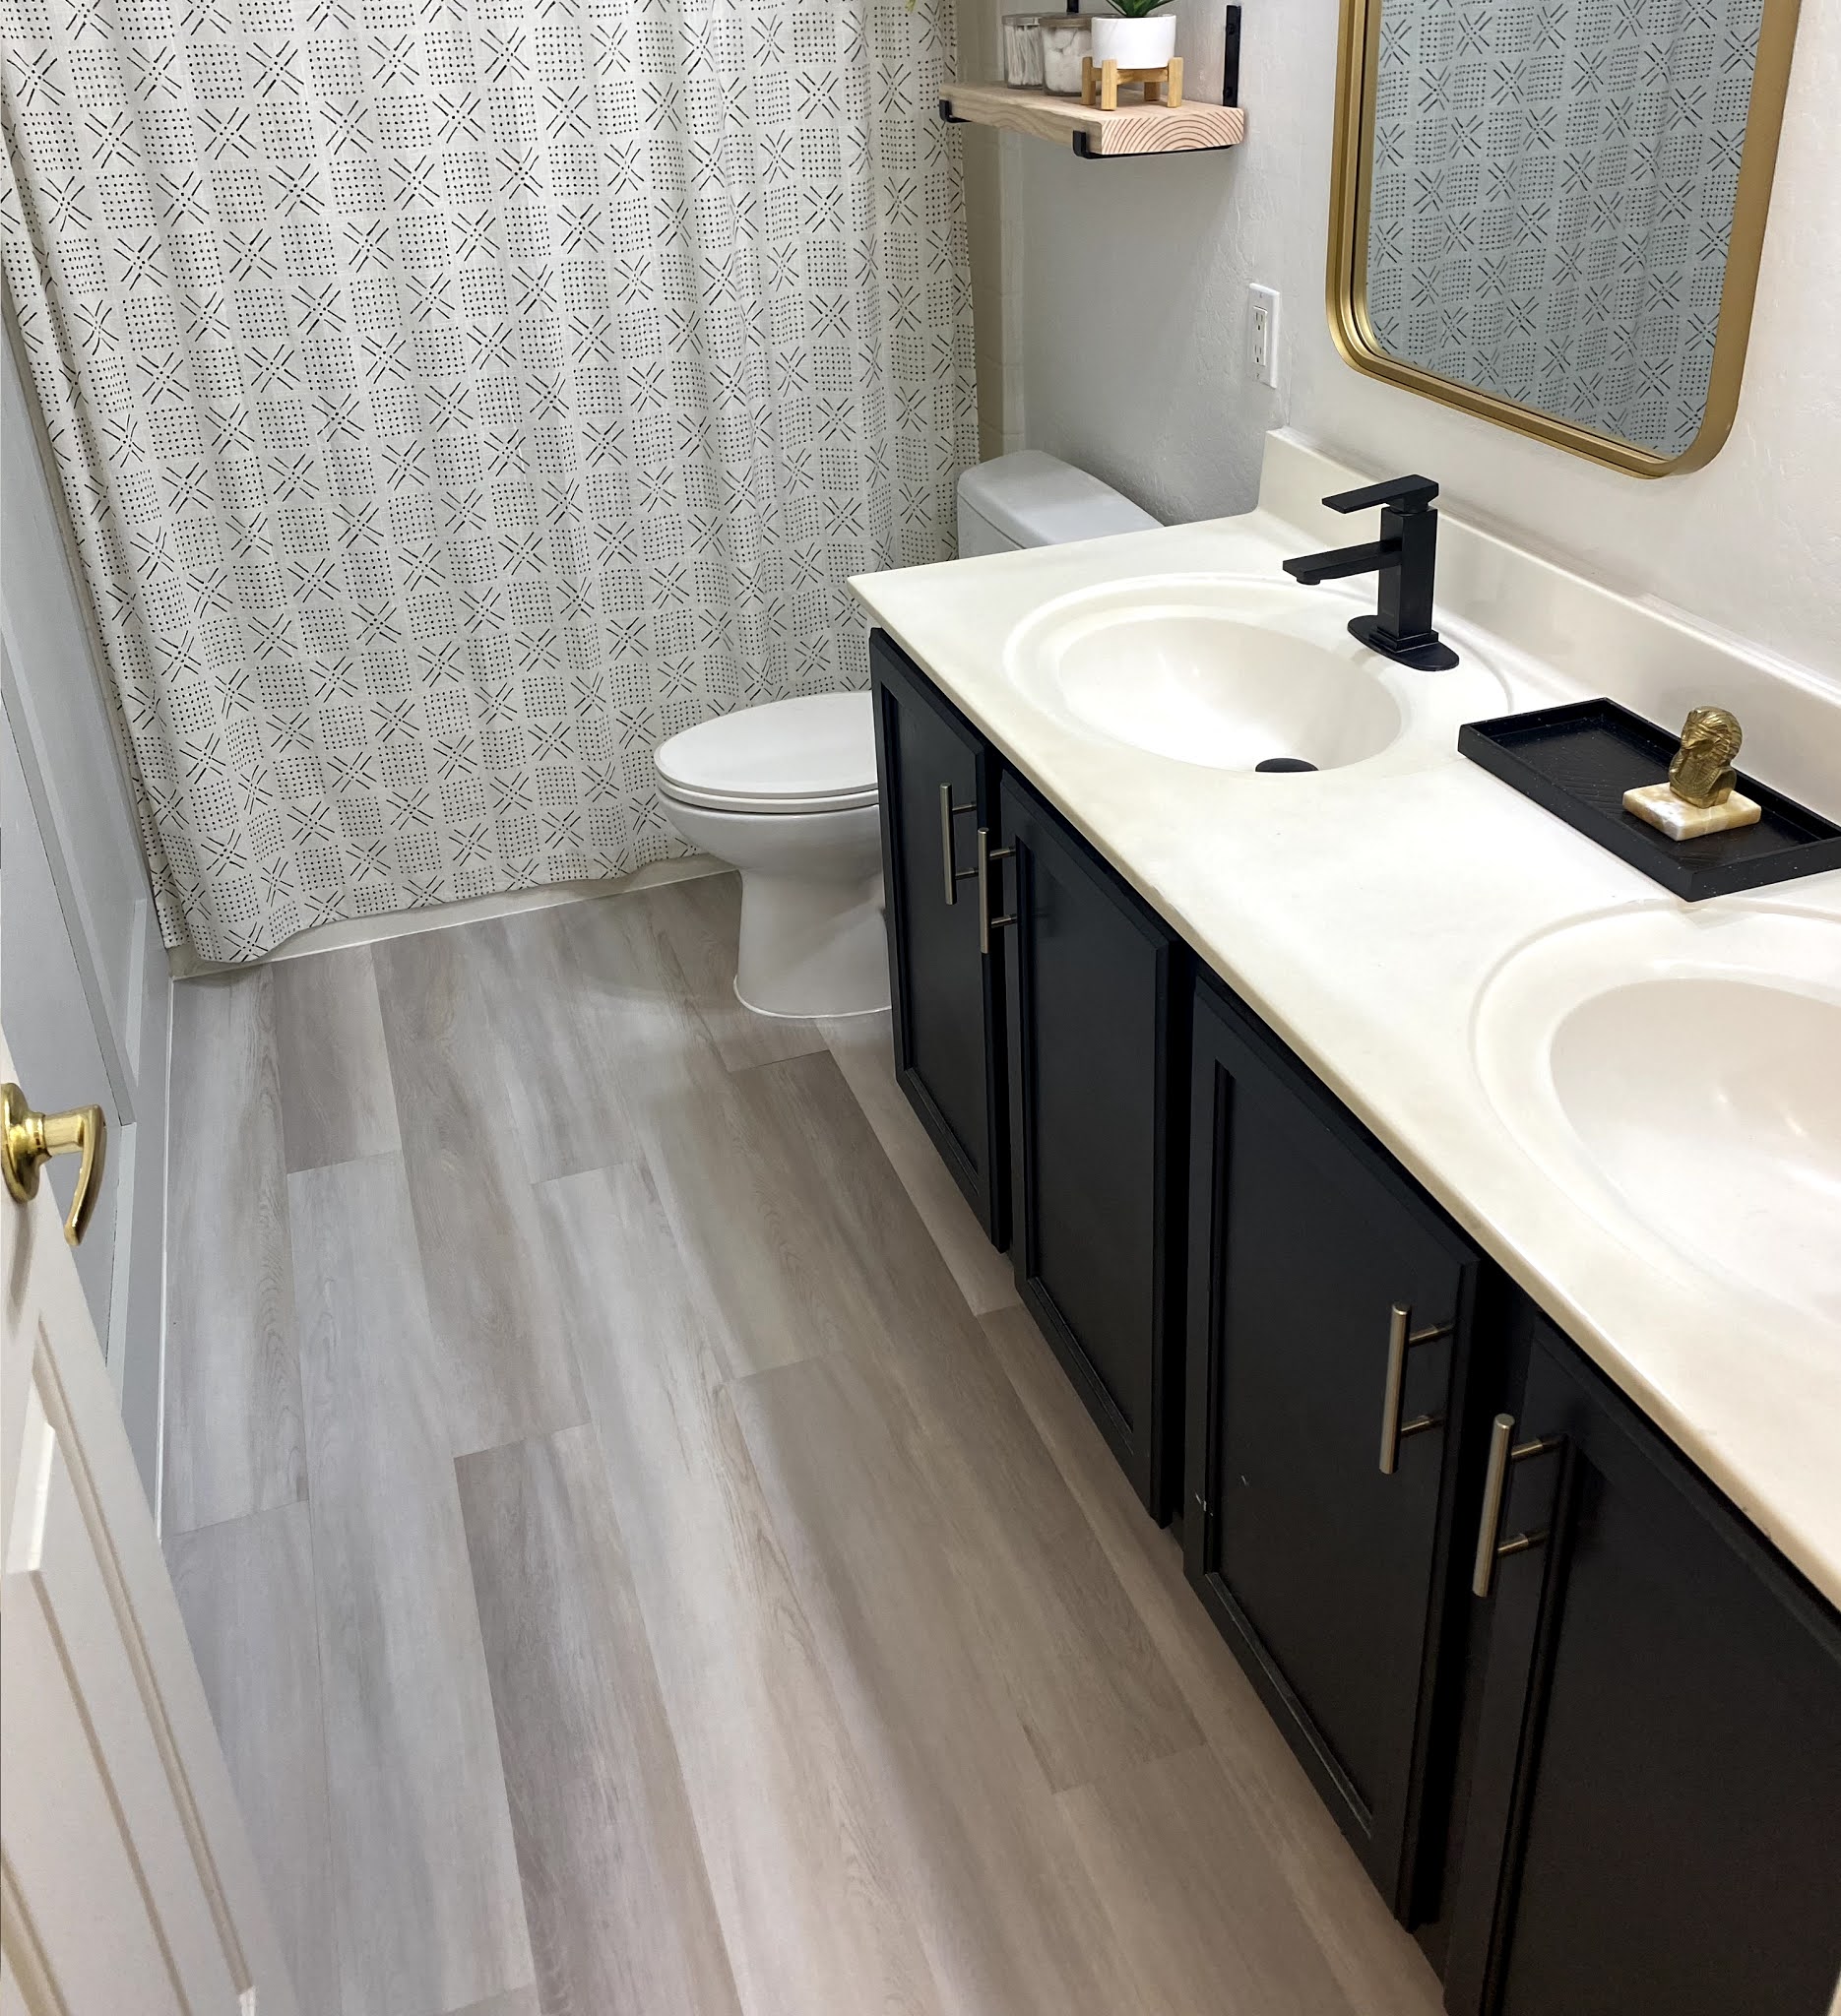
This is Fluffy Marshmallow, it's a mix of light grey/white. This photo looks darker but it's more of a light flooring!

The final result! It really took 3 easy steps:
Cut and plan out the layout
Clean floors
Peel and stick down!

No filter on this photo to show the true color! If you're thinking of renovating your old tile flooring, check out ClingTiles because it's so easy to install and they have so many options.
Comments
Post a Comment