You know you're a real DIYer when you need to remodel your garage. Most people don't think about their garage, but for us, we wanted it to be a space that was clean and good looking.
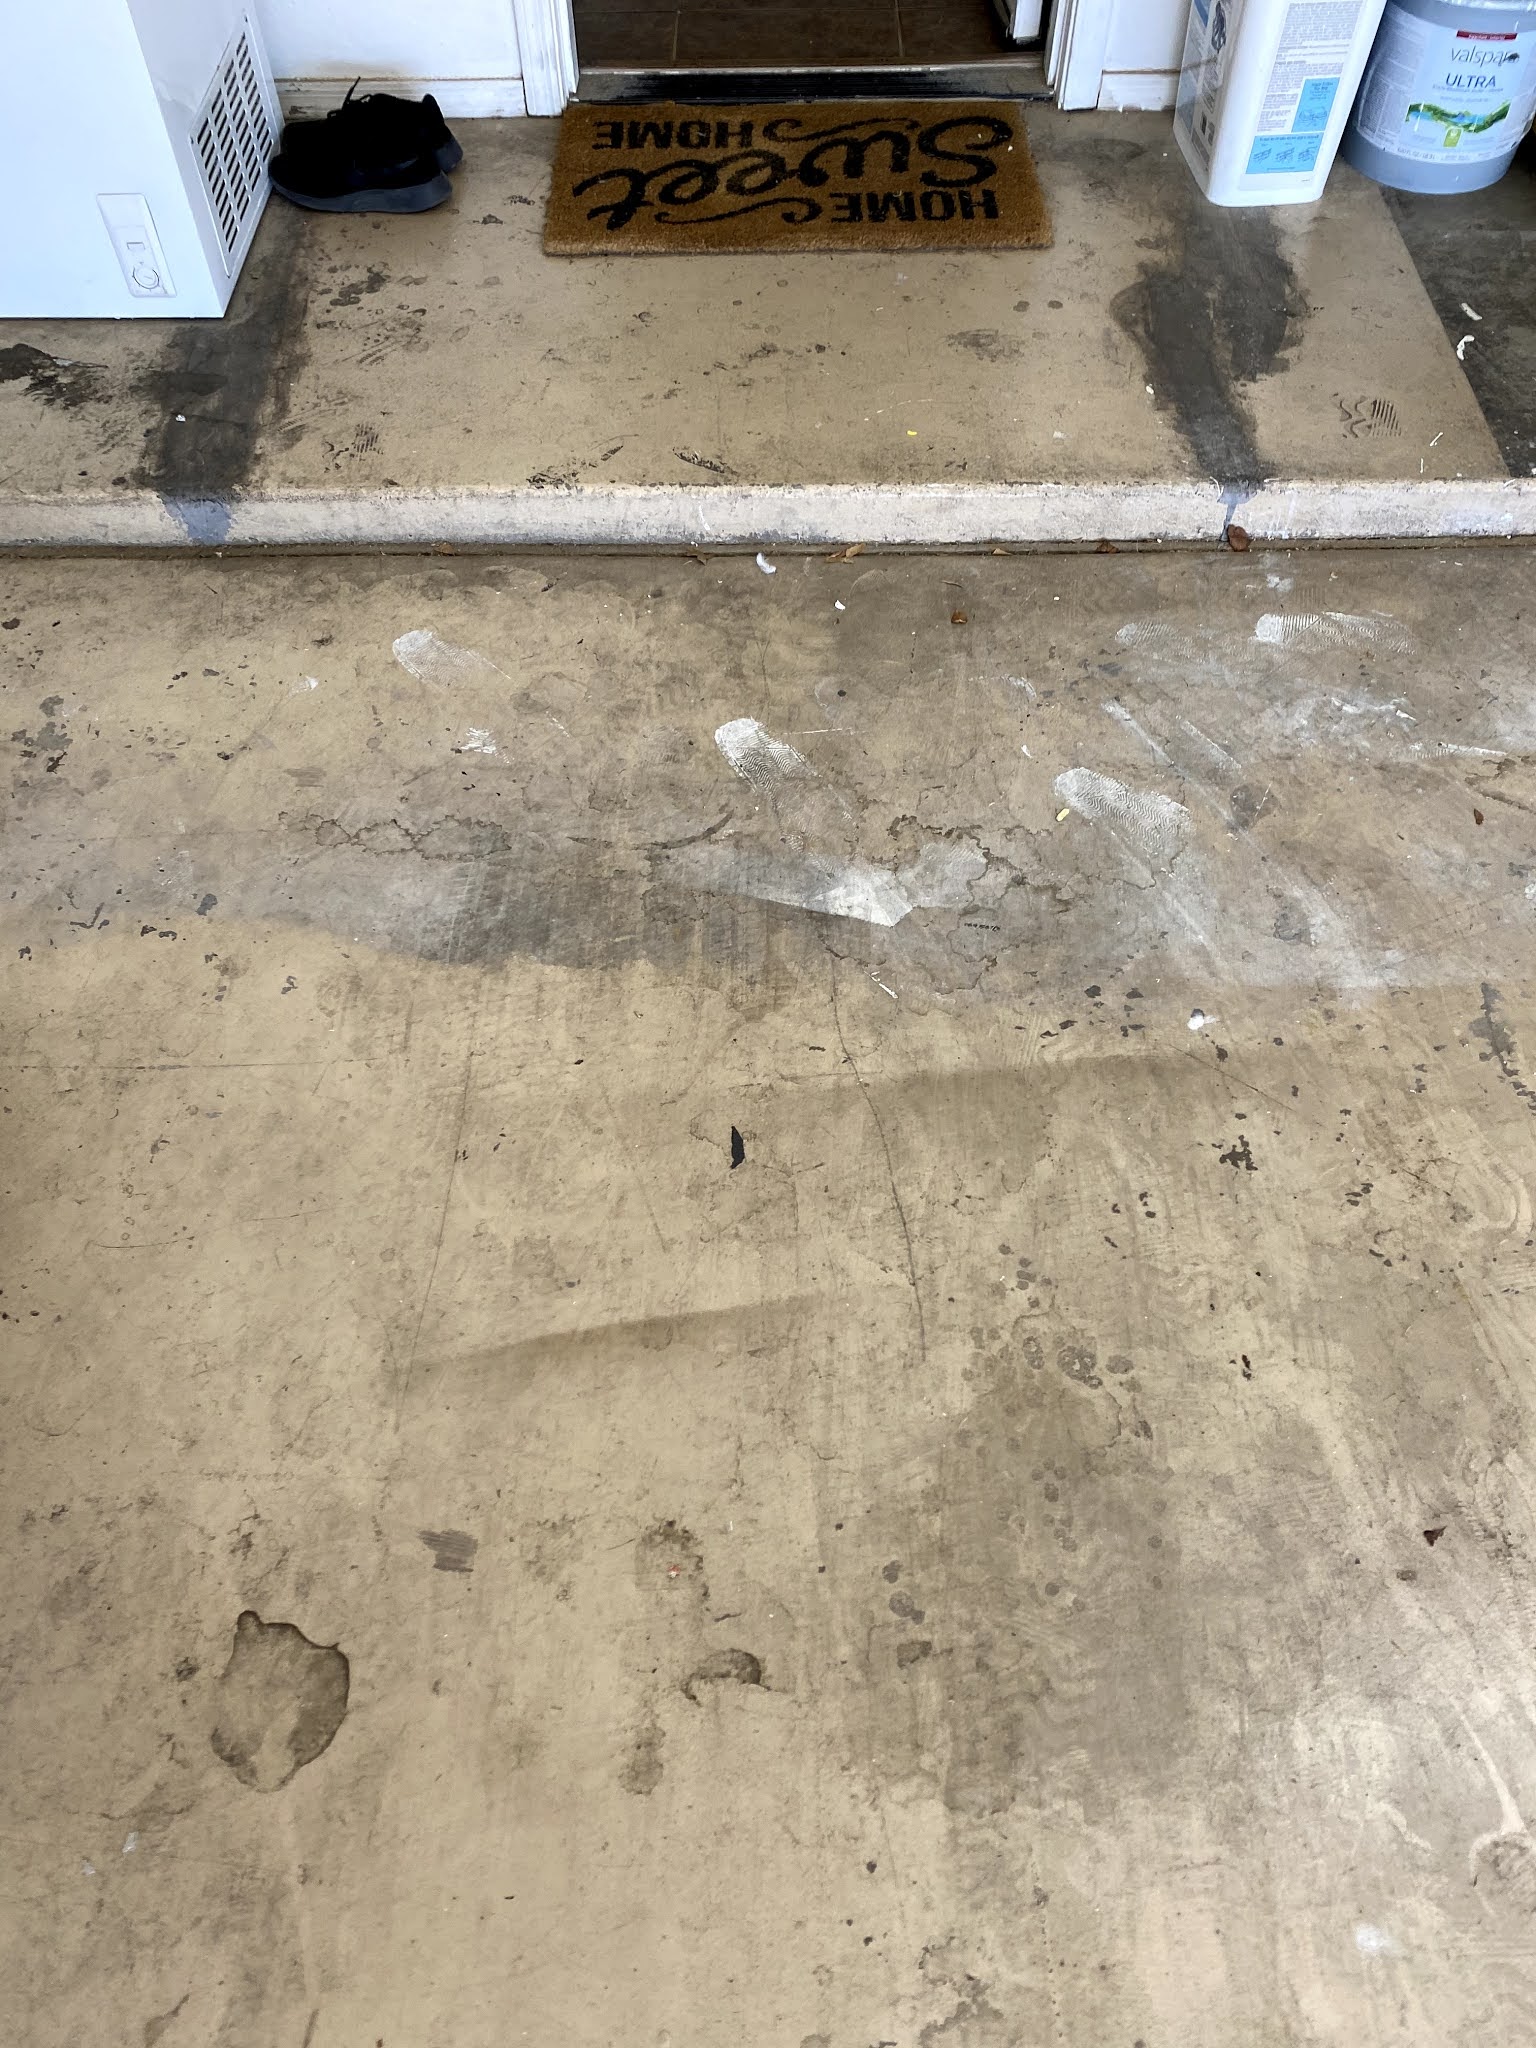
The biggest eyesore was the floors. They were dirty, messy, and full of stains (probably from my spray paint projects, oops!) The floors had been painted years ago (we think), and it really just needed an upgrade.
We partnered with Rust-Oleum to bring our garage floor back to life with their EpoxyShield® garage floor coating kit! Before this, we had received bids for $3,000-$5,000 for our 3-car garage floor. Since we are the DIY dream team, we knew we could do this ourselves, and with Rust-Oleum's help, we felt even more confident.
I'll quickly walk through the steps on what we did, what I'd do differently, and how we learned from this process of our DIY garage floor epoxy project!
Here's a brief overview of the steps to remodeling your own garage floors:
1. Prep: clean, sweep, degrease, spray down
2. Let dry and the prime with Recoat Primer
3. Let dry (6-24 hours)
3. Mix EpoxyShield® and apply within an hour of mixing
4. Sprinkle the paint chips as you go
5. Let dry before adding Clear Topcoat
6. Let dry (again) for 3 days before driving on it
As you can see, a lot of this process is making sure the previous step is dry before moving on. And 50% of this project was the prep work! Cleaning your garage floor is SO important. We ran into a hurdle during this that involved a very windy day and a LOT of leaves, but we'll share that later in this blog.
THE PREP
We took everything out of our 3-car garage, including workbenches, Christmas bins, shelves, and more. We stored everything on the side yard or in our guest room:
After we had an empty garage, we swept and vacuumed. Then, we used the Rust-Oleum Cleaner + Degreaser and poured it evenly over the whole garage. I used a squeegee to spread it over thinly so it wouldn't puddle.
The Cleaner sat for 15-20 minutes, and then I used a bristle brush to scrub at stains or dirt. This worked super well, and I was watching all our stains disappear. After I scrubbed, Jonathan power washed the floors and I squeegeed the water out while he pressure washed.
We let it all dry and came back the next day for step 2!
PATCHING CRACKS
Rust-Oleum gave us their Patch & Repair kit for cracks or holes we had in our floor. We mixed Base A with Base B according to the instructions and smoothed it out over the cracks in our garage floor. It was a putty-like substance and worked like a charm. We had to let that dry before we could paint over it.
This was a super easy step and there was nothing we would change about it! Our home is 20 years old, so this repair kit was a lifesaver!
PRIMER
One of my favorite parts was using Rust-Oleum's Recoat Primer. Our garage floors had been painted and sealed before we bought the home, so if we didn't use this, we'd have to grind off the old floors and sand it all. If you use Rust-Oleum's primer, you don't need to sand or grind off the previous surface. Instead, we just had to put the Recoat Primer on and let it dry! EPOXYSHIELD®
After the primer, it was time for the final coat. This step needs to be done carefully, because you only get one shot. This steps also works best with 2 people—one to paint the floor and the other to sprinkle paint chips as you go. You could do this part alone and work in smaller sections, if needed.
Another cool part of this process was the Rust-Oleum Burst Pouch (picture below). You roll up the pouch until it "pops" or bursts into the other pouch for easy mixing. You don't need buckets, stir sticks, or anything messy! The parts mix together inside this pouch, and then you pour it straight into the paint tray.
We started in the back left corner of the garage and worked in rows. Jonathan would dip the roller in a light coat and then paint a small area. I'd be close behind, sprinkling paint chips onto the wet epoxy. Here's what it began to look like:
This step was the most fun! We were in the home stretch, and the sprinkling part was like throwing confetti onto fresh floors.
TOPCOAT
The next day, we were ready for the clear top coat! This step is also pretty easy—rolling top coat onto the floor and letting it dry!
However, we did run into a tiny "uh-oh" experience with this final step. After we pained the topcoat, we let it dry with our garage doors cracked open, so the garage door wouldn't stick to the floor. Well, that day, a HUGE windstorm came through. We didn't realize it, but the wind blew in a lot of leaves and debris into the garage, settling on the topcoat. I was pretty frustrated, because I thought it was ruined.
We pulled off the larger pieces, and after letting it dry more, we were able to get the leaves and sticks off the topcoat. It was mostly frustrating because it was the FINAL step, and everything had gone perfectly up to that point. So, if you're doing this with your garage, maybe lay down a towel and let the garage door shut on the towel if possible!
REVIEW
It's been about 5 days so far, and we are loving it! We are going to pull the car in and update you in a month or two. This was an easier DIY than I expected, so I know you can do it too.
If we could change anything, it would be the way we painted the lines or did the topcoat. Some parts you can tell where the streaks are (see below). But a car will be over this spot most of the time, so we aren't worried about it!
We loved using the Rust-Oleum kits and working with them! If you're at your Home Depot or Lowe's, go check out this kit!


Comments
Post a Comment